China Best How to Troubleshoot Thermoforming Problems?

Time:2026-11-21 Author:Liam
0%

Thermoforming problems often appear as small defects before they become expensive production losses. A cloudy sheet, uneven wall thickness, or a webbed corner can point to different causes. The right response is not to change every setting at once. Record the material grade, sheet thickness, oven zones, forming temperature, vacuum level, and cycle time first. Those details make comparisons useful.

This guide explains how to troubleshoot issues in thermoforming processes through visible symptoms and practical checks. It covers common problems such as bubbles, sagging, poor detail, wrinkles, and inconsistent trimming. For example, bubbles may suggest moisture or overheating, while thin corners can indicate uneven heating, poor material distribution, or an unsuitable forming setup. These are clues, not automatic diagnoses. Small trials help confirm the cause.

Keep adjustments controlled. Change one setting at a time, then inspect the same area on the next part. Check heater balance and vacuum lines, but also verify that the sheet matches the machine and mold requirements. Supplier data and equipment manuals provide a more reliable starting point than guesswork. Production conditions vary. This is not always neat. A defect may have more than one cause, and a quick fix can create another problem. Careful records, repeatable tests, and timely support from qualified technicians help teams make sound decisions and reduce avoidable scrap.
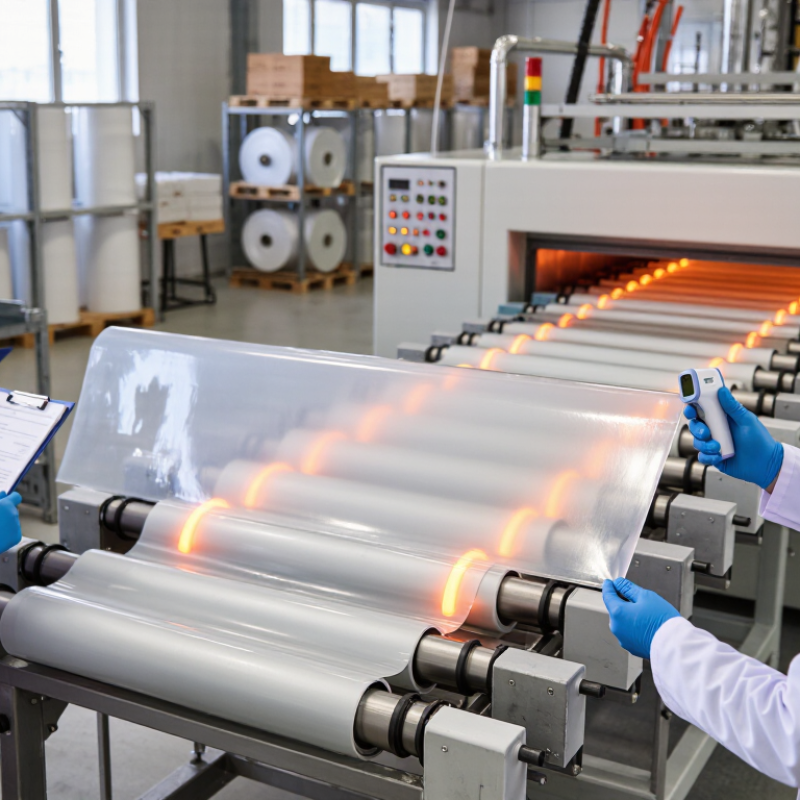
China Best How to Troubleshoot Thermoforming Problems?

Understanding Thermoforming Processes and Common Defects

Thermoforming heats a plastic sheet until it softens, then shapes it over a mold using vacuum, pressure, or both. Cooling sets the part. Temperature, sheet thickness, mold design, and cycle time all affect the result. Grand View Research’s 2023 Thermoforming Plastics Market Size report estimated the global market at USD 48.4 billion in 2022. That scale makes process consistency important, but a large market does not make every setup predictable.

Common defects reveal where the process may be drifting. Thin corners can indicate uneven sheet heating or excessive stretching. Webbing between mold features may point to poor sheet control, unsuitable mold spacing, or a forming cycle that needs adjustment. Bubbles can result from moisture or trapped air, while warped edges may signal uneven cooling. Even experienced operators can misread a defect; changing several settings at once often makes the cause harder to identify. Small changes matter.

Tips: Record sheet temperature, heating time, and vacuum timing for each trial. Check the sheet and mold before adjusting the cycle. Change one variable at a time, then inspect the same area on the next part. Note what improved—and what did not.

Inspecting Parts to Identify Thermoforming Problems

Inspect the part before changing machine settings. Let it cool fully, then place it beside an approved sample under steady, bright light. Look for thin corners, cloudy patches, bubbles, wrinkles, and uneven gloss. These clues may suggest uneven heating, trapped air, or inconsistent material flow, but appearance alone cannot confirm the cause. Check several parts. One odd piece may show handling damage instead.

Measure wall thickness at matching points, especially around corners and deep draws. Record the readings rather than relying on touch. Small details matter. Check dimensions after cooling, and note whether edges curl or holes shift from their expected positions. Inspect trim lines for rough edges or excess material, which can indicate forming or trimming inconsistencies. Mark each defect on a simple part sketch; this makes patterns easier to compare across samples. Visual checks can miss subtle variation, and measurements can be imperfect too. If the evidence is unclear, compare more parts and change only one process variable at a time.

China Best How to Troubleshoot Thermoforming Problems? - Inspecting Parts to Identify Thermoforming Problems

Part Defect What to Inspect Common Process Causes Checks to Confirm the Cause Potential Corrective Actions
Uneven wall thickness Measure thickness at consistent locations, including corners, deep-draw areas, and flat sections. Uneven sheet heating, excessive draw depth, poor material distribution, or unsuitable plug-assist timing. Compare thickness readings across several parts and review heater-zone settings and forming sequence. Balance heating across the sheet, review plug-assist position and timing, and assess whether the part geometry needs a more gradual draw.
Webbing or folds between features Look for trapped folds or excess material in corners and between adjacent cavities. Excess sheet sag, inadequate material control, unsuitable mold spacing, or forming before the sheet is properly positioned. Check sheet temperature and sag, inspect mold layout, and observe how the sheet moves during forming. Adjust heating or forming timing, improve material distribution, and review mold spacing or web-control features.
Bubbles or blisters Inspect the sheet surface for raised pockets, often visible after heating or forming. Moisture in hygroscopic sheet materials, overheating, or trapped air during forming. Check material storage and drying records where applicable; compare the defect before and after heating. Follow the material supplier’s drying and storage guidance, reduce excessive heat exposure, and verify that air can evacuate from the mold.
Incomplete forming Check whether corners, ribs, lettering, or other fine details are shallow or missing. Insufficient sheet temperature, inadequate vacuum or pressure, blocked vent holes, or premature cooling. Verify forming temperature and cycle timing, inspect vacuum lines and vents, and check for leaks. Correct the heating profile, restore vacuum or pressure performance, clean or reposition vents, and review cooling timing.
Webbing, marks, or drag lines on the surface Examine the location and direction of surface marks and compare them with mold contact areas. Sheet movement against the mold, uneven heating, contamination, or rough or damaged tooling. Inspect mold surfaces and sheet handling; determine whether marks appear before or only after forming. Clean and maintain tooling, improve sheet alignment, and adjust heating or forming timing to reduce unwanted contact.
Excessive sag before forming Observe the heated sheet for drooping, uneven sag, or contact with nearby equipment. Excessive heating, long heating time, uneven heater output, or insufficient sheet support. Compare sag across the sheet and review heater zones, dwell time, and material thickness. Reduce or rebalance heat input, shorten heating time where appropriate, and confirm sheet support and alignment.
Part sticking to the mold Check for difficult release, scuffing, distortion, or damage during demolding. Insufficient draft, inadequate cooling, undercuts, or surface condition issues. Inspect the release direction, mold surface, cooling consistency, and part geometry. Allow suitable cooling before release, maintain the mold surface, and review draft angles or undercut design with the tooling team.
Warping or dimensional variation Measure critical dimensions after parts have cooled and stabilized; compare parts from different cavity positions. Uneven cooling, inconsistent forming temperature, variable cycle timing, or uneven material thickness. Record measurements by cavity and production time; check cooling channels and process settings. Improve cooling uniformity, stabilize the heating and forming cycle, and verify that material and measurement conditions are consistent.
Pinholes or small tears Inspect thin areas and high-strain regions under consistent lighting; check whether defects repeat in the same location. Excessive local stretching, material damage, sharp tooling features, or an unsuitable heating profile. Map defect locations, measure nearby wall thickness, and inspect sheet edges and mold surfaces. Reduce local stretching, remove tooling burrs or sharp edges, and review material handling and heating balance.

Tracing Defects to Materials, Heating, and Forming Conditions

Thermoforming defects rarely have one cause. Start with the sheet. Measure thickness across its width, check lot records, and review drying conditions for moisture-sensitive materials. PlasticsEurope’s Plastics – the Fast Facts 2024 reports 413.8 million tonnes of global plastics production in 2023, with recycled plastics accounting for 8.7%. These figures describe the wider material supply, not defect rates. Still, changes in feedstock can affect sheet consistency and forming behavior. Do not blame the mold too early. A practical check is to compare a defective area with a sound one from the same sheet.

Next, trace heat and forming conditions. Map sheet-surface temperatures across the oven; the display alone may hide cold edges or hot spots. Uneven heating can cause thin corners, webbing, or surface marks. Check vacuum flow, vent holes, plug timing, and cooling time before changing several settings at once. That makes cause and effect easier to see. A glossy sheet can still be unevenly heated. I would not treat one successful cycle as proof that the process is stable; small changes in sheet thickness or room conditions can expose a weakness.

Adjusting Process Settings to Resolve Common Issues

Thermoforming defects often point to process settings that are slightly out of balance. Start by matching the flaw to its likely cause. A sheet that sags before forming may be too hot or heated too long. Reduce heating time in small steps, then check whether the sheet reaches the mold evenly. Uneven heating can leave one corner soft and another stiff. Small changes matter. Record each trial, including sheet temperature, heating time, and room conditions.

Thin corners may indicate insufficient material distribution or forming pressure. Check that the sheet is centered, then adjust plug timing or vacuum level gradually. If webbing appears between deep features, review sheet temperature and mold layout before changing several settings at once. That shortcut can hide the real cause. Allow the machine to stabilize after each adjustment, and inspect several parts rather than judging one sample. Cooling also matters: parts released too early may warp, while excessive cooling can slow production. It is easy to blame the mold too quickly. Still, some defects have more than one cause, so keep notes and verify each change under consistent conditions.

How to Troubleshoot Thermoforming Problems: Adjusting Process Settings

The chart shows typical adjustment directions, not measured setpoints: −1 means decrease, +1 means increase, and 0 means no general directional change. For bubbles, check and dry moisture-sensitive sheet as specified by its supplier; also inspect material handling. Tune settings in small steps, since the appropriate response depends on the material, tooling, and machine.

Testing Results and Preventing Defects from Returning

After a thermoforming defect appears, record the test conditions before changing the setup. Note sheet thickness, heating time, mold temperature, vacuum level, and the defect’s location. A thin corner, cloudy patch, or uneven flange can point to different causes. Check the same area on several parts; one sample may be misleading.

Change one setting at a time, then run a small, consistent batch. Measure wall thickness at matching points and compare cooling time, part dimensions, and surface quality. If the defect improves, repeat the test after the sheet and mold return to stable temperatures. We once blamed vacuum pressure too quickly; uneven heating was the overlooked factor. That was a useful reminder.

Tips: Keep a simple test log beside the machine. Record settings, results, and photos under the same lighting. Mark acceptable ranges for critical measurements, and verify them at the start of each shift. If a defect returns, compare the current log with the last successful run before adjusting several settings. Small changes matter. A rushed correction can hide the real cause.

FAQS

What is thermoforming?

A plastic sheet is heated until soft, then shaped over a mold with vacuum, pressure, or both. Cooling sets the part.

What can thin corners indicate?

They may point to uneven heating or excessive stretching. Compare the thin area with a sound area from the same sheet.

Why does webbing form between mold features?

Poor sheet control, tight mold spacing, or cycle settings may contribute. Change one setting. Then inspect the same area.

What causes bubbles in a formed part?

Moisture or trapped air can create bubbles. Check drying conditions and the sheet before changing the forming cycle.

Why do formed edges warp?

Uneven cooling may be responsible. Check cooling time and compare the edges across several parts.

How can operators find uneven heating?

Map sheet-surface temperatures across the oven. The display may miss cold edges or hot spots.

What should be checked before changing cycle settings?

Check sheet thickness, lot records, mold condition, vacuum flow, vent holes, and plug timing. Several changes at once blur the cause.

Does one good cycle prove the process is stable?

Not always. Small changes in sheet thickness or room conditions can reveal weaknesses. One successful part can be misleading.

Conclusion

This guide explains how to troubleshoot issues in thermoforming processes by connecting visible defects with the conditions that may have caused them. It begins with an overview of thermoforming and common problems, then shows how to inspect finished parts for clues such as uneven walls, wrinkles, bubbles, poor detail, or inconsistent shape. Careful observation helps distinguish an isolated flaw from a recurring process issue.

The guide then traces defects to possible sources, including material condition, heating uniformity, and forming conditions. It outlines practical adjustments to process settings and emphasizes making changes methodically, one at a time, so their effects can be evaluated. Finally, it recommends testing the results and monitoring production to confirm that improvements are consistent. Regular checks and clear process records can help prevent defects from returning and support more reliable part quality.

Liam

Liam

Liam is a dedicated marketing professional with a profound expertise in the industry, where he excels at highlighting the unique advantages of our core products. With a keen understanding of market trends and consumer needs, Liam frequently updates our company’s professional blog, providing......